I’m back to rendering pipeline for our current project… this time: Ambient Occlusion Maps.
Ambient occlusion is the small dimming of ambient light in areas where the ambient light couldn’t reach…
Basically, ambient light exists to simulate the effect of trillions of photons bouncing off the objects in an area, so in fact, simulating indirect light. Note as a room is not completely dark in areas not illuminated directly by the window… that’s due to surface reflection.
While to do this normally in realtime you’d have to resort to high-end and extremely complex techniques (i.e. CryEngine 3 has something akin to this), you have three low cost alternatives:
- Radiosity computed lightmaps
- Pre-calculated ambient occlusion maps
- Screen-space ambient occlusion algorithms
While (1) is out of the question at the moment (because the interaction of lightmaped environments with dynamic objects is too complicated to get right), (2) and (3) can be used.
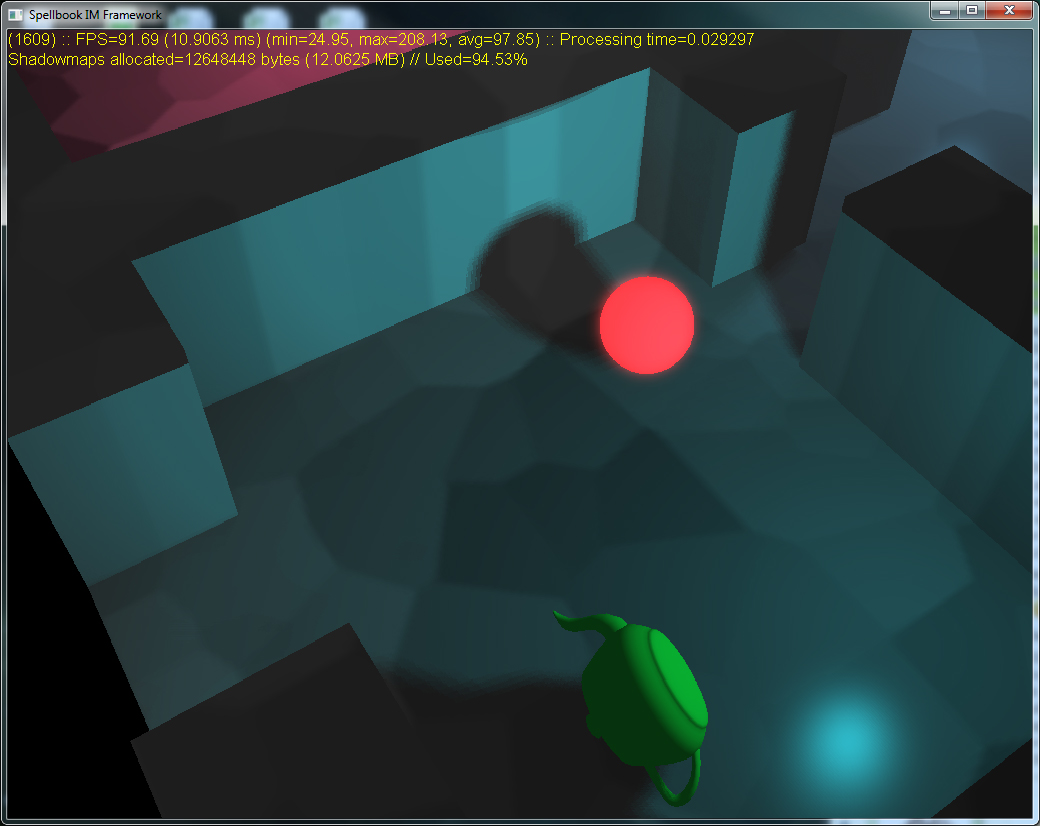
Problem with (3) is that I really only like their effect in Crysis… I’ve tried lots of different flavors of Screen Space Ambient Occlusion (SSAO) before, but results where never to my liking:
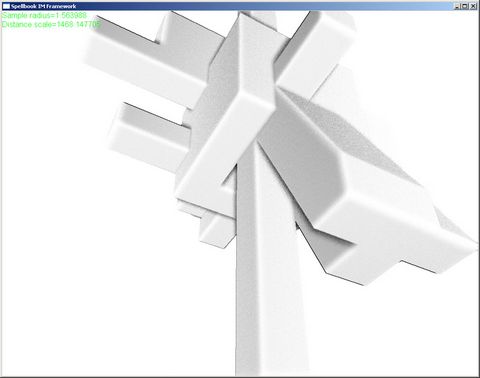

Although some of the things that were wrong could probably be tweaked out, I’m very strongly against tweaking stuff (my development time is very short, since I have a job and stuff)…
So that leaves me with (2)…
So I used the lightmap calculator to create some ambient occlusion maps that will be used in the realtime render of the scene.
First, I just tried visualizing the points corresponding to the lumels:
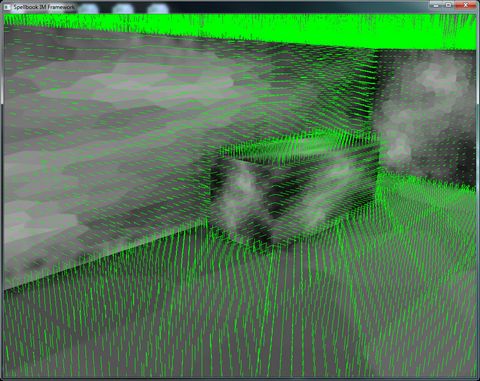
They didn’t seem very right at the time, but I thought it was because of my UV being wacky… Then I did some experiments with simple raycasting and the results were average (no screenshot, I forgot to take one!)… I decided I needed to use multi-sampling to achieve decent results. This is where everything went wrong… I did a first iteration of the rectangle in the lumels area using the gradients of the rasterizer, and these were the results:
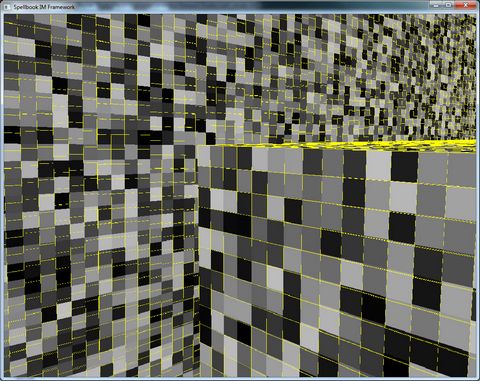
While some of it seems to be more or less right, most is totally wrong… I was expecting the rectangles to encompass a whole lumel, but they weren’t… After some hours of pulling hair, I decided to rebuild my rasterizer, thinking the problem was there… it wasn’t… 🙁
Anyway, after some attempts, I decided to ask for help in the GD-Algorithms Mailing List, and as usual, people came through… Thanks to the help of several people, specially Olivier Galibert, I managed to change my rasterizer and ambient occlusion map generator to barycentric coordinates, which fixed the problems:
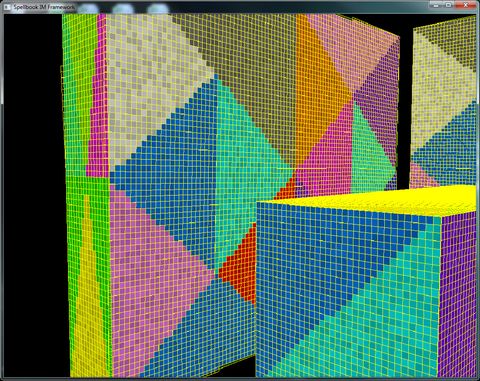
On a triangle barycentric coordinates are a pair (U,V) such that if (U+V<=1), then P(U,V)=V0+V1*U+V2*V belongs to the triangle.
So, the triangle (and all his properties) are defined through the use of just (U,V) coordinates, which makes everything easier and more precise. Instead of just trying to find spans and filling in the insides with interpolated values, I actually just interpolated the U and V along the triangle edges, and used those values to find all the properties, achieving with this the result above.
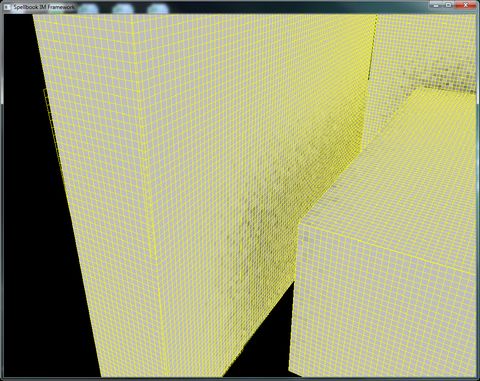
There’s still some imperfections on the edge cases, but that’s to be expected, since the triangles edges don’t exactly match the pixel boundaries, but most of it can be taken care with a “bleeding” of the resulting ambient occlusion map.
After I got this right, was just a matter of implementing the raycasting proper…
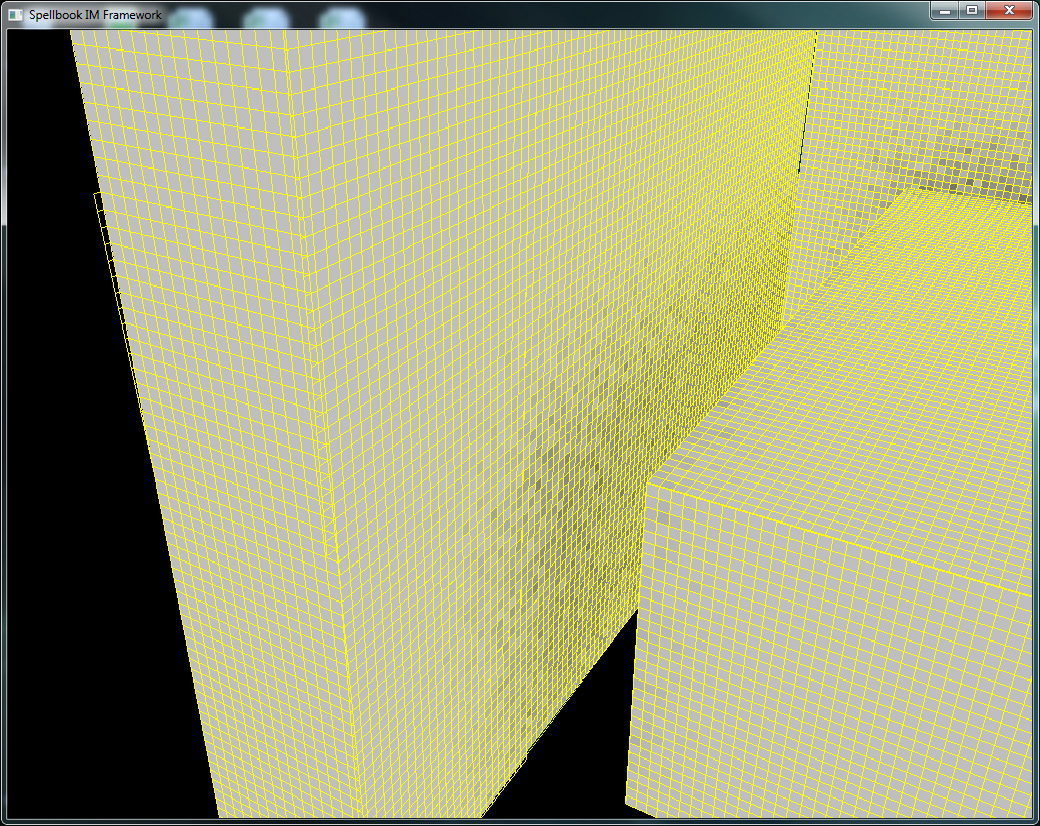
I like seeing the blocky ambient occlusion… In the above case, we only have about 16 rays per lumel.
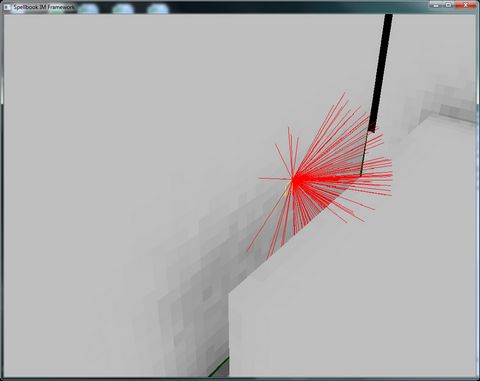
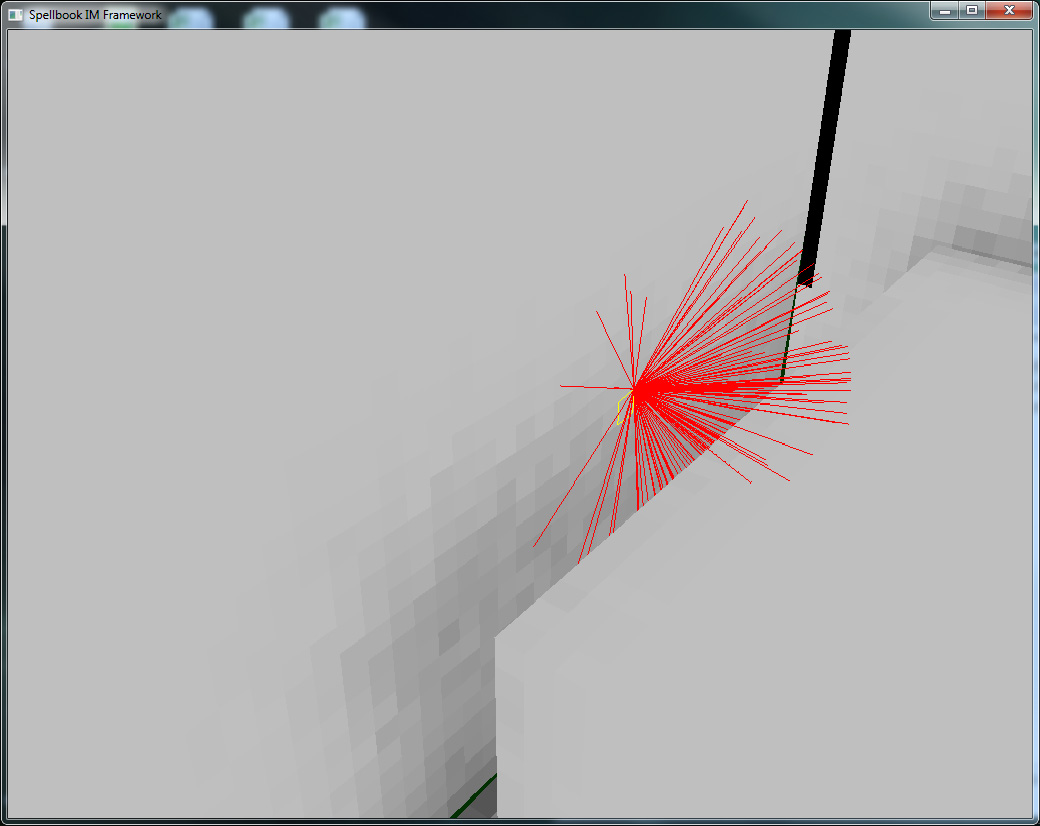
Without multisampling, we only cast rays from the upper-left corner of the lumel (in this case it seems to be reversed, but that’ because the UV space is “reversed” in the U direction on that lumel)… Adding multi-sampling:

We get a more uniform spread… the quality improvement doesn’t show much with this amount of rays, but with loads of them, at the “edges” of the “shadows” of objects, they definitely show.
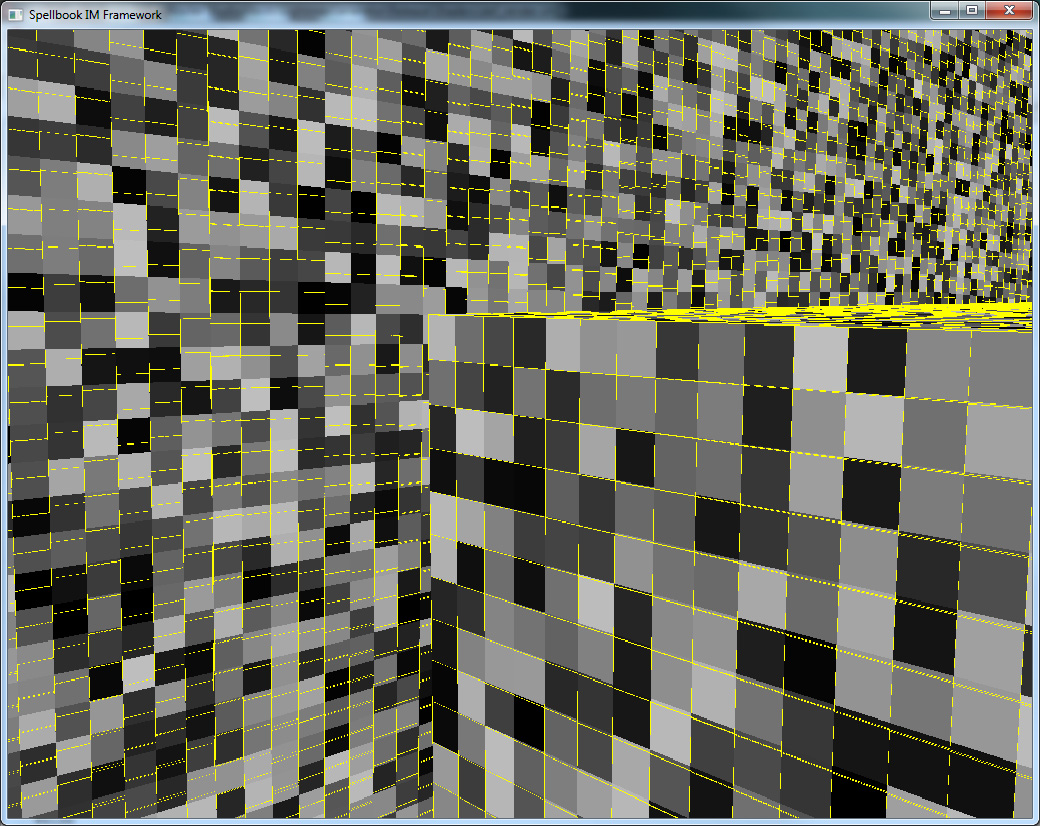
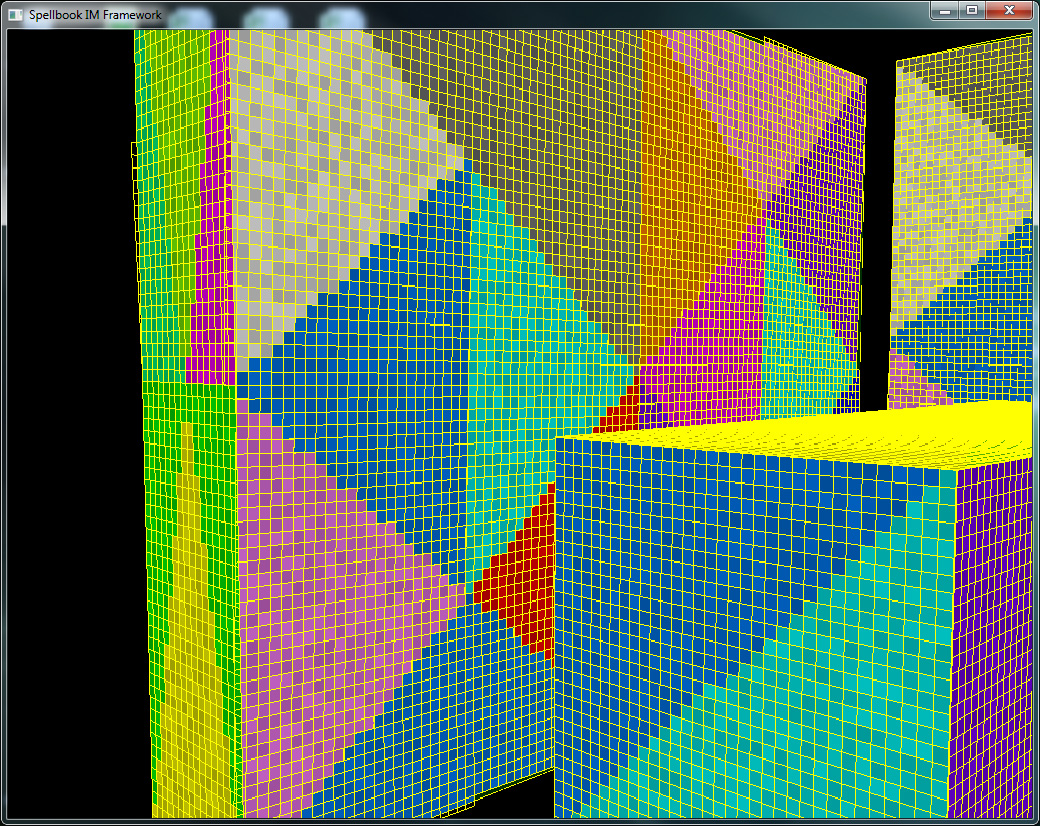
With 1024 raycast per lumel, on a 128×128 ambient occlusion map used by the whole scene:
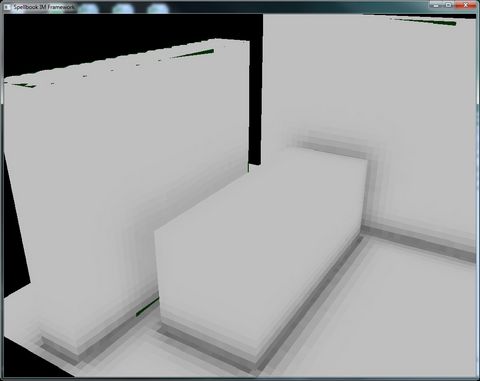
Sampling is set to point, so I can see the lumels properly. Note that there are some artifacts on the top of the box on the left… that’s due to the rasterizer not going “all the way” to the edge… this is solved through bleeding of the texture.
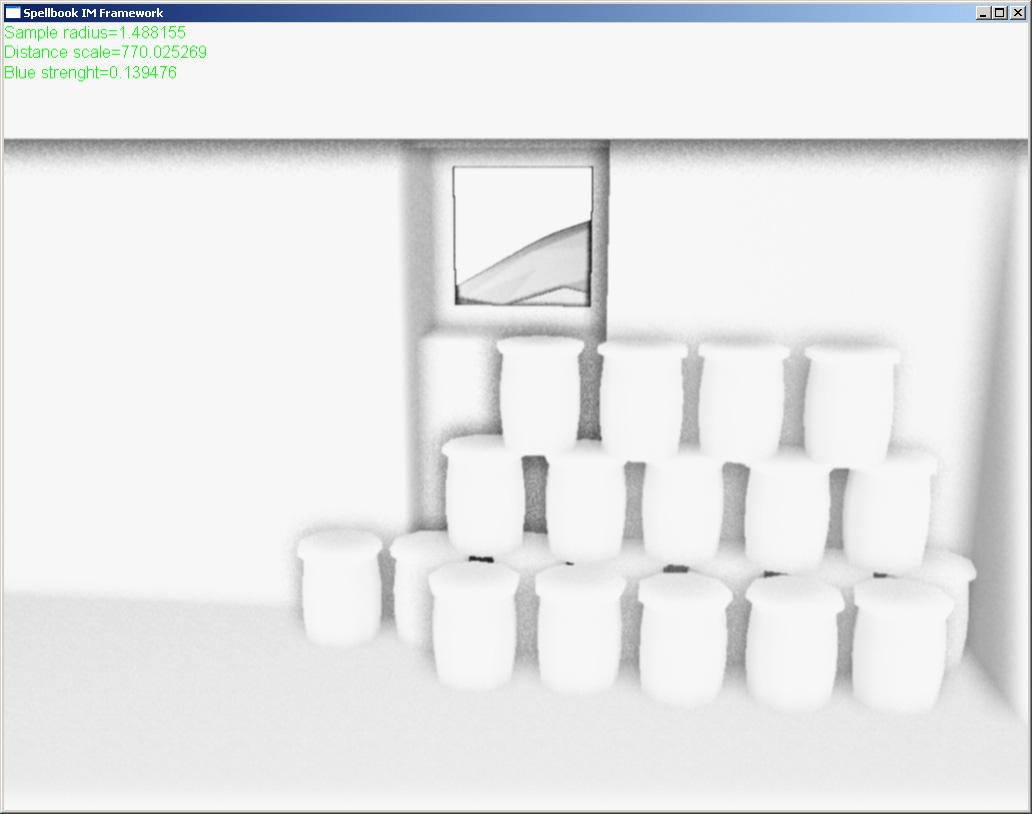
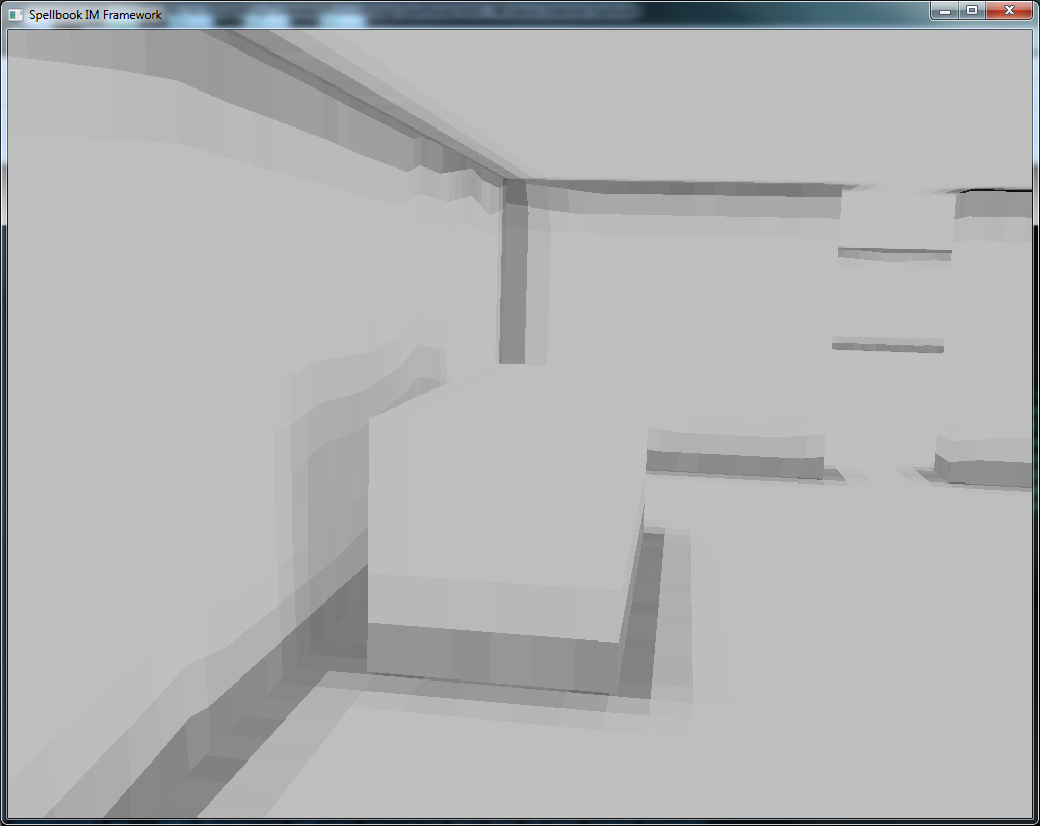
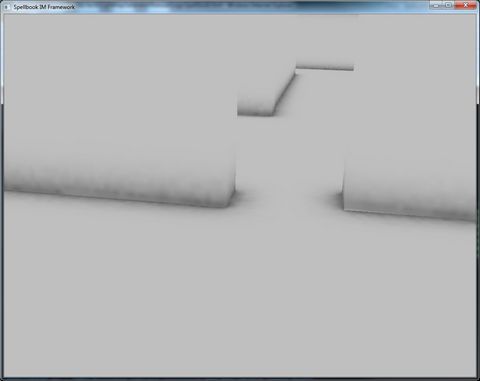
On a larger scene (with some rooms, etc), with 256×256 ambient occlusion maps, 1024 rays per lumel, half-lumel per unit resolution, this was the result.
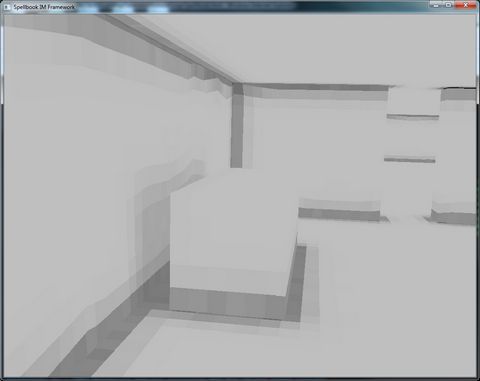
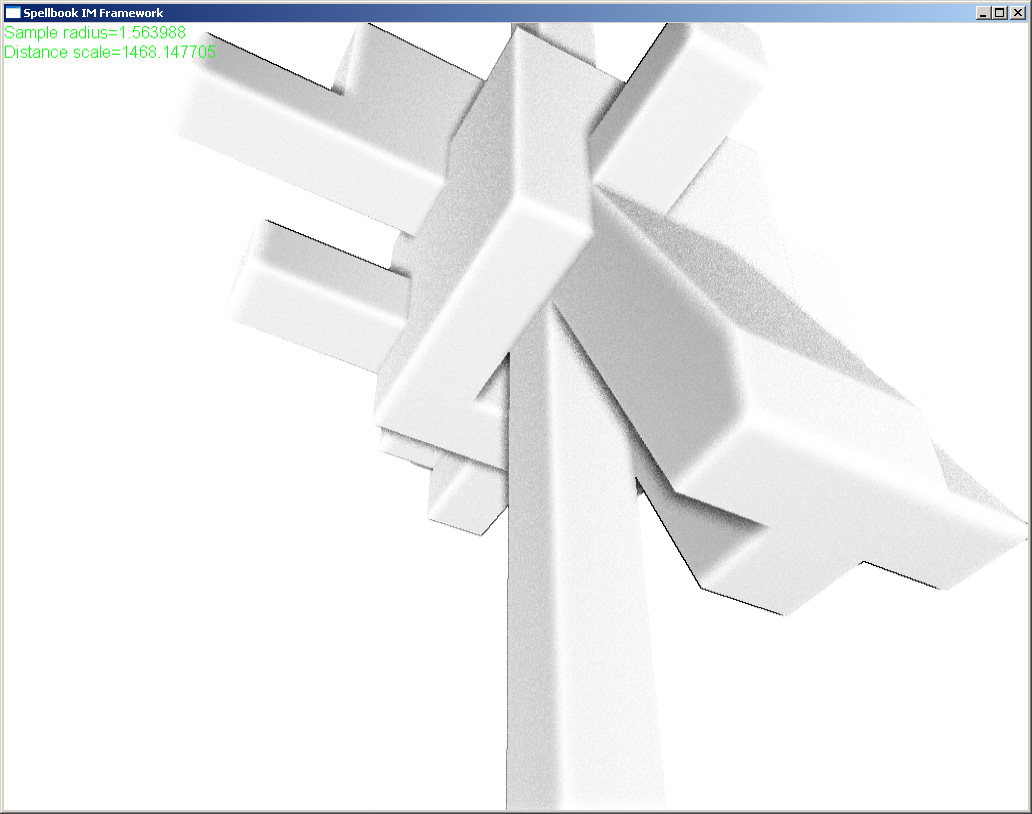
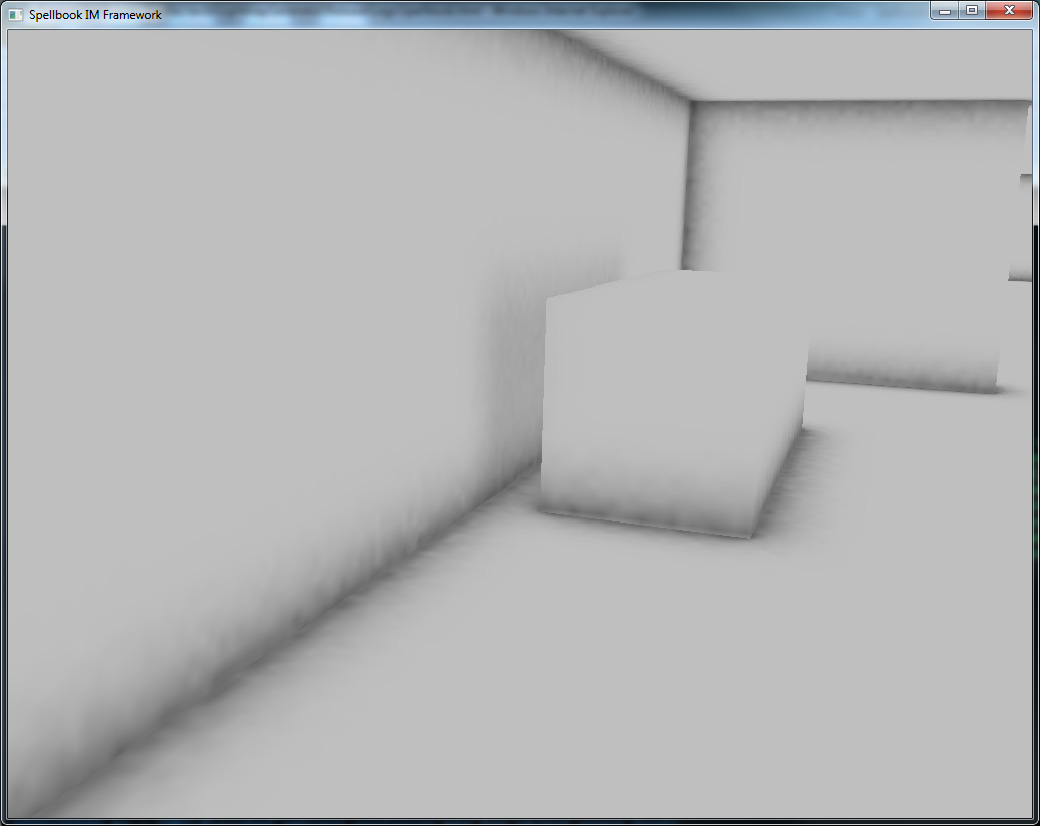
There’s no light sources in the scene, only ambient light, and still point sampling for testing purposes… it looks ugly, but there’s already some feeling of space to it… Turning on linear sampling, increasing the resolution to 1024×1024 and going to 256 rays per lumel:
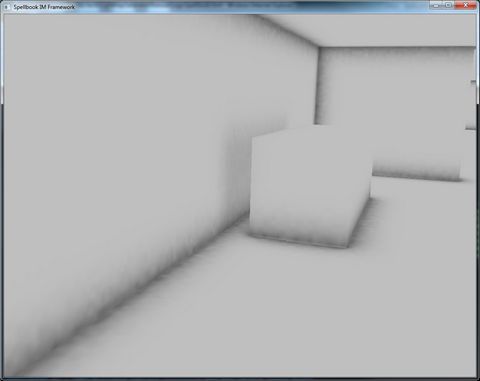
Results are a bit noisy, but they’re already very good for the intended purposes… Adding rays to the scene would get rid of the noise (I think, haven’t tried), but with the additional “noise” of the textures, normal maps and direct lighting, I doubt it shows in a real game situation.
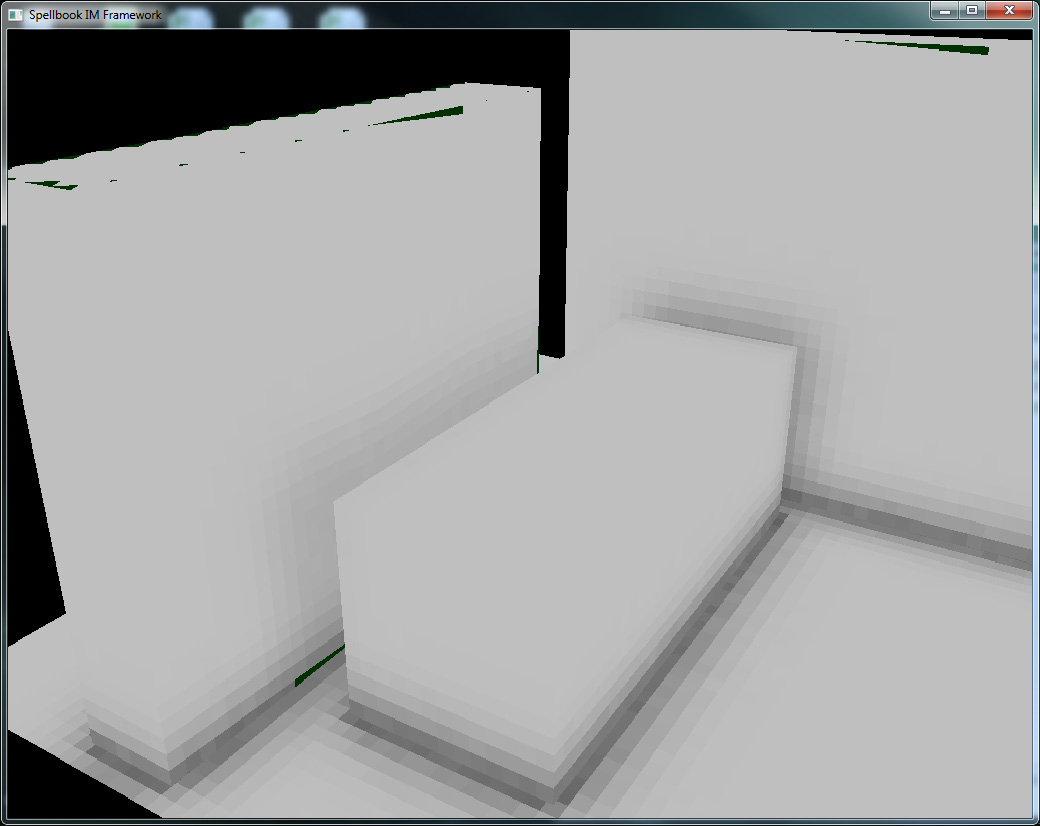
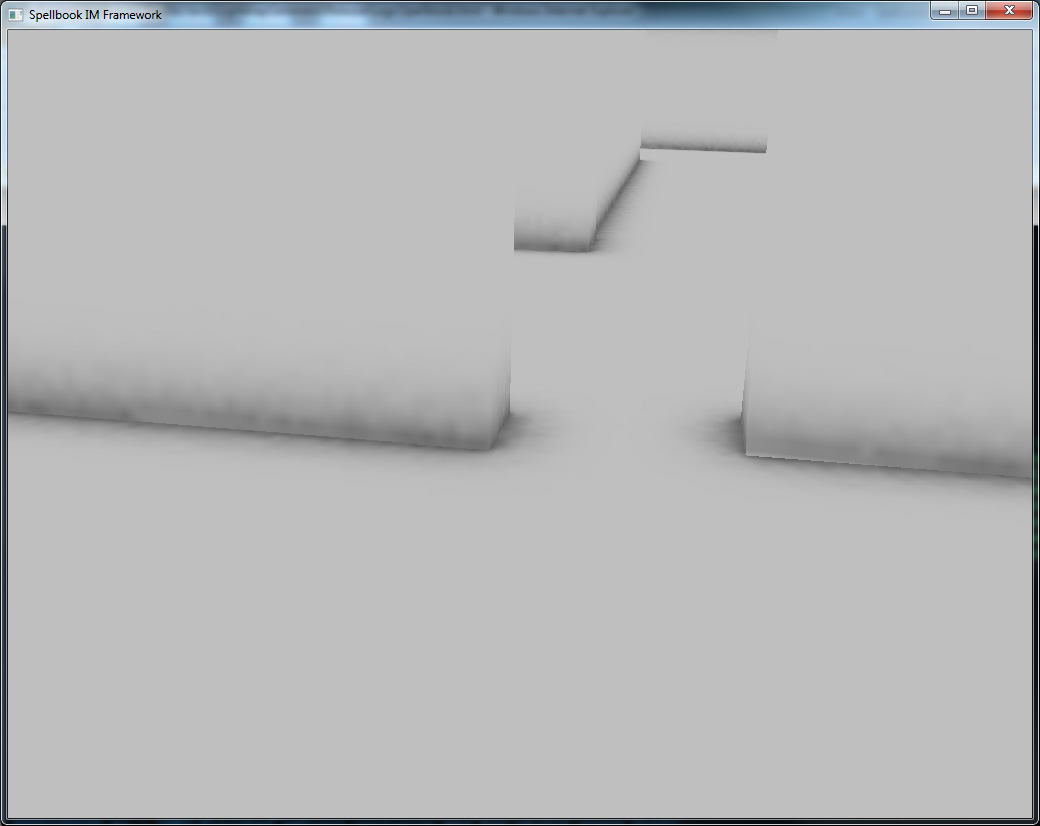
There’s good details on this solution:
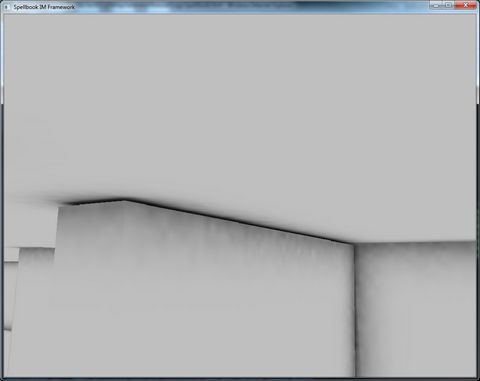
I like this one in particular… The wall doesn’t touch the ceiling (hacked scene, this is what you get), but the ambient occlusion really fleshes out the volume.
I’ve added some code to use multi-processors (since this is software only rasterization and calculation) to speed up the generation of the scene, and the raycasting isn’t as good as it should at the moment (probably will build an octree with all the geometry and use it for raycasting). This scene takes about 4 minutes to compute (resulting in 3 1024×1024 ambient occlusion maps), but hopefully I’ll be able to chop that time down…
My next step is really exporting the generated scene (I’m lazy and haven’t done that part of the code yet, the test application computes and displays the solution), and trying this with a “real” scene (which I’m waiting for my artist to finish, he’s been having some troubles getting some “walls” and “ceilings” he actually likes.
After that, next stop is trying this with direct lighting… I’ve added “soft-shadows” to my dynamic shadowmaps, and they will really help the scene, although they need loads of samples (16) to actually look good… Anyway, I’m hoping that combining the ambient occlusion, the soft-shadows, and playing around with the update times of the shadow maps, I can have a fully dynamic lighted environment that requires little tweaking and is fast enough to work with in the game…
Until next time, cya guys!